Postmatic is growing up, and finding itself on ever-larger sites, many of which have multiple authors. In Postmatic 2 we are taking steps to put the spotlight on authors, as well as give them the tools they need to keep the conversation going.
A love poem for Brad
At a quarter to midnight, all snug in my sheets,
I heard the soft twinkle of many tiny tweets.
Could it be i’ve said something undiplomatic?
No! It’s a love poem! For our baby: Postmatic.
Sneak peek at Postmatic 2: Smart Templates
When we released our Disqus-alternative Epoch earlier this year we received lots of positive feedback about one simple feature: how it automatically adapts to take on your brand and theme.
Unlike other commenting plugins, Epoch fits right in. It'll use the same fonts, colors, and form styles as the rest of your site. The effect is a comment area which looks like it belongs to you. Which in turn gives your users confidence that their data is not being sold down the river.
How Simply Lise leverages Caldera Forms and Popups to create beautiful optins
Every now and then we’re introduced to a new way of using Postmatic with other plugins. We love seeing how our users adapt our technology to suit the needs of their sites.
Our recent discovery came to us by way of Lise Galipeau, designer at Gali Designs.
On her own website, Lise has created a series of two optins using some interesting techniques that allowed for her to completely customize the look and feel of each.
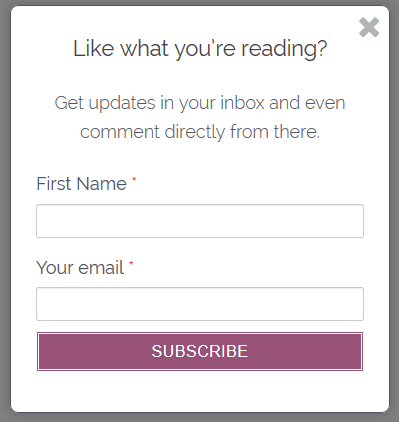
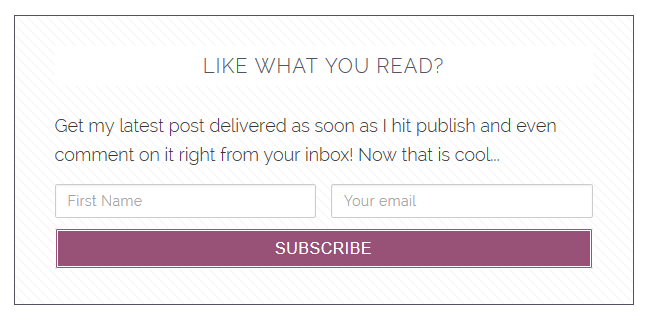
A customized exit intent popup
First Lise created a very elegant exit intent popup form using a combination of the Caldera Forms and Popups – WordPress Popup plugins.
How she did it
You need to install the following plugins to make this work (this assumes you already have Postmatic installed):
1. Create the form using Caldera Forms
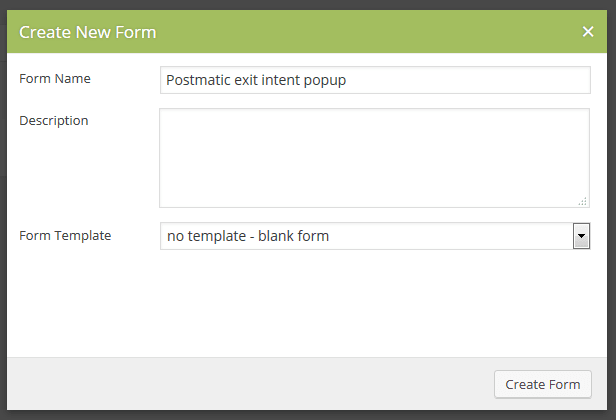
In your WordPress dashboard, go to Caldera Forms > Forms. Click on the New Form button. Complete the Form Name field and leave the Form Template set to no template – blank form. Click on the Create Form button.
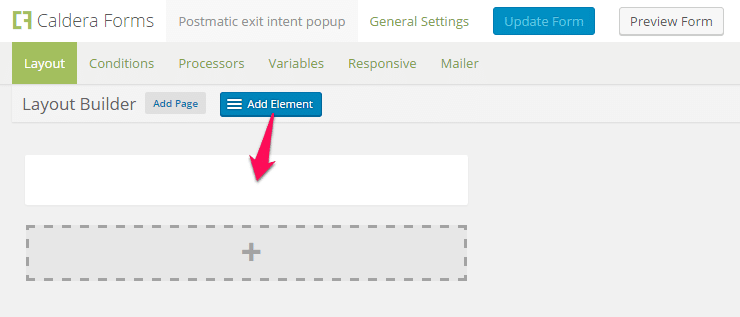
We’ll start by adding a Name field to the form. Drag the blue Add Element button to the white rectangle.
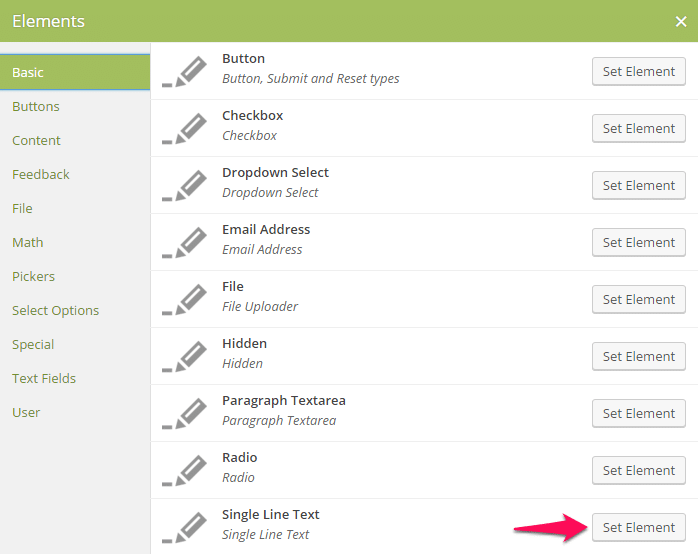
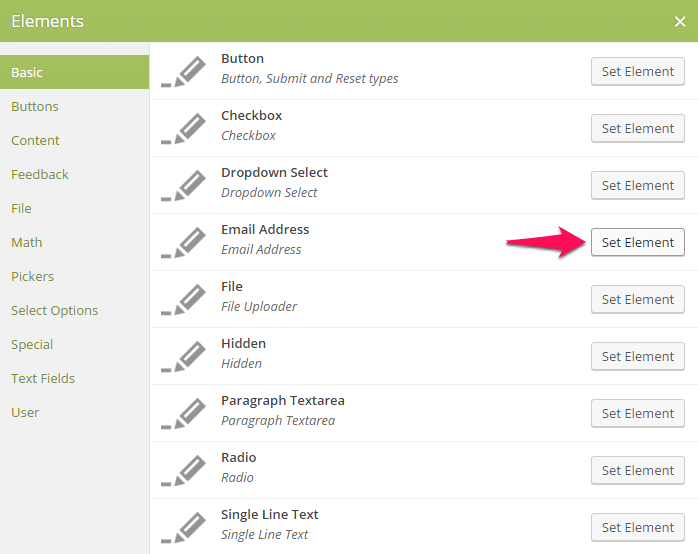
An Elements screen will appear. Click on the Set Element button next to Single Line Text.
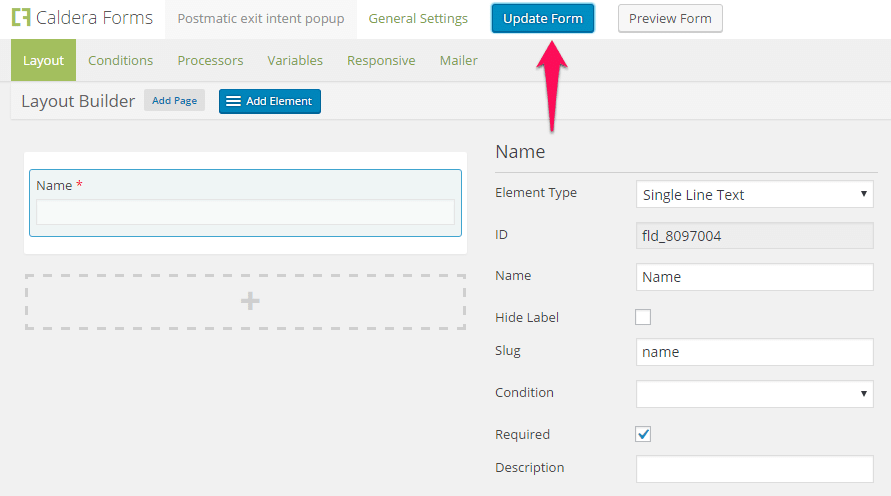
Fill out the Name field as show below and check the box next to Required. When you’re done, click on the blue Update Form button.
Next, we’ll add an Email address field to the form. Once again, drag the blue Add Element button to the white rectangle.
When the Elements screen appears, click on the Set Element button next to Email Address.
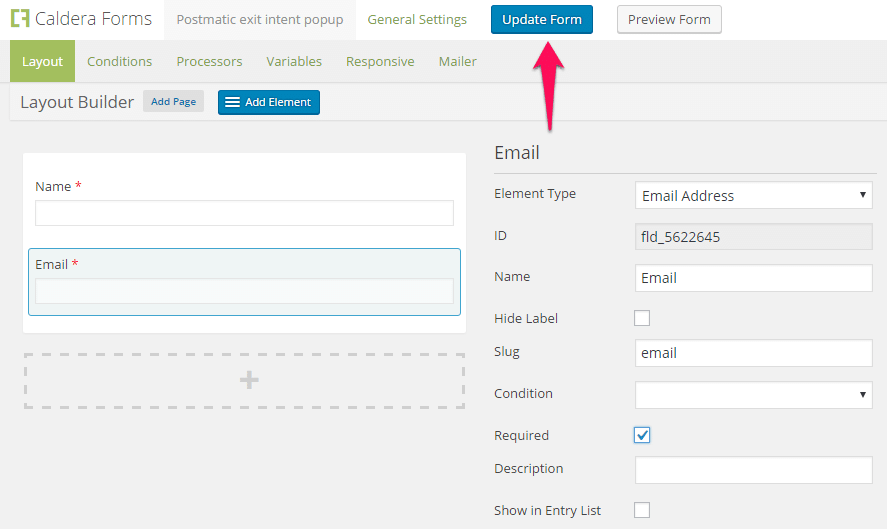
Fill out the Name field as shown below and check the box next to Required. When you’re done, click on the blue Update Form button.
Next, we’ll add a checkbox to the form. Once again, drag the blue Add Element button to the white rectangle.
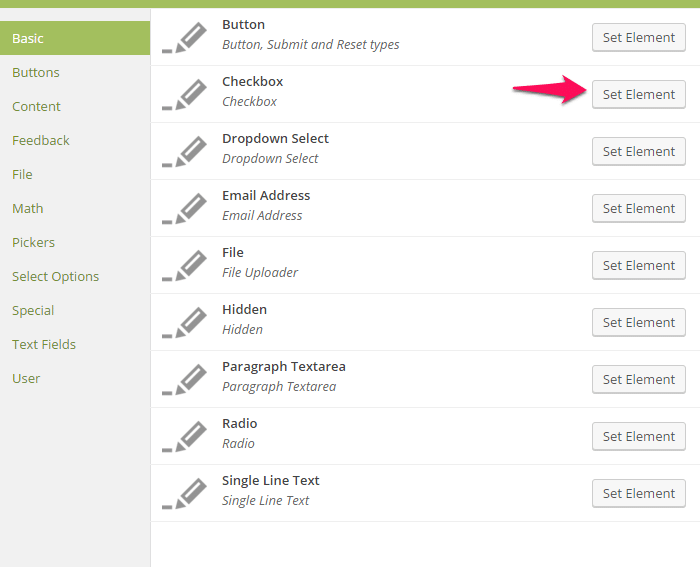
When the Elements screen appears, click on the Set Element button next to Checkbox.
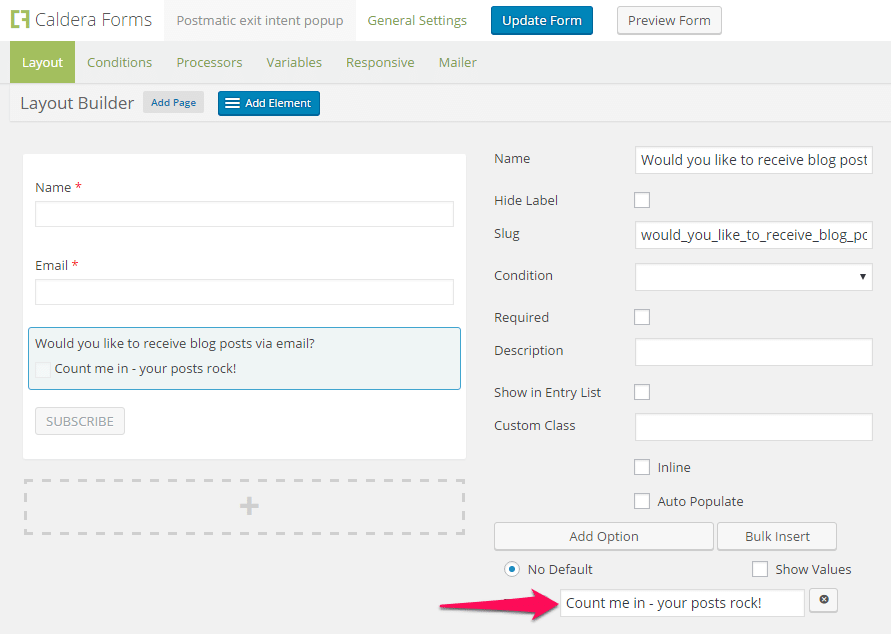
Fill out the Name field with the text you’d like to appear above your checkbox. Click on the Add Option button.
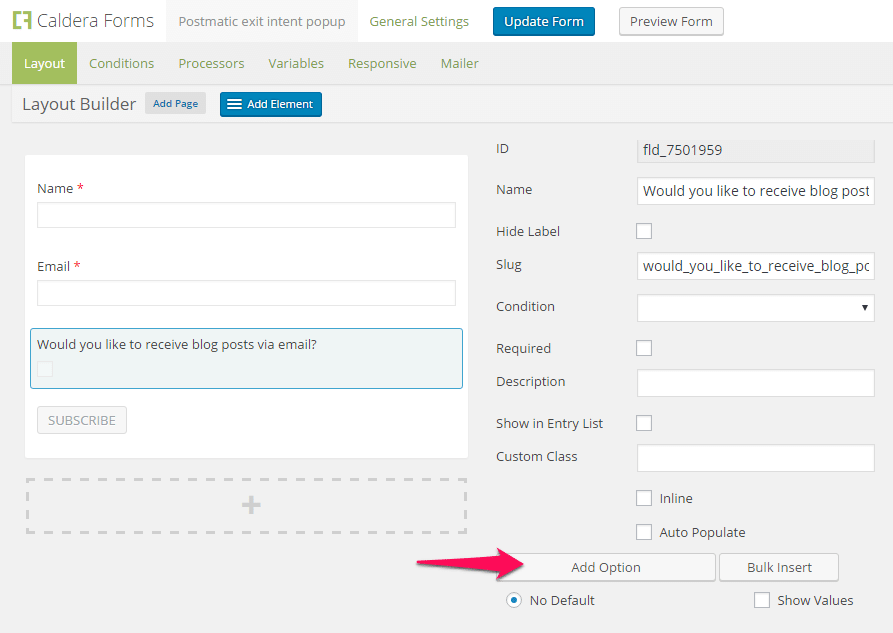
Fill out the new field with the text you’d like to appear next to your checkbox. When you’re done, click on the blue Update Form button.
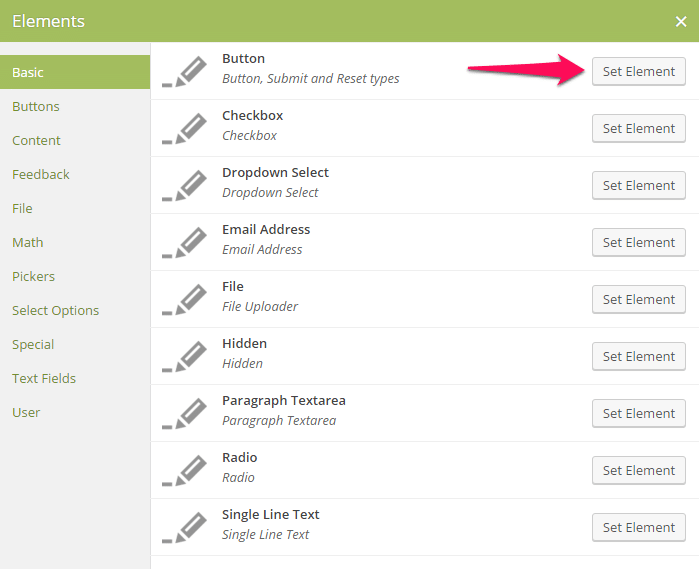
Lastly, we’ll add a Submit button to the form. Once again, drag the blue Add Element button to the white rectangle.
When the Elements screen appears, click on the Set Element button next to Button.
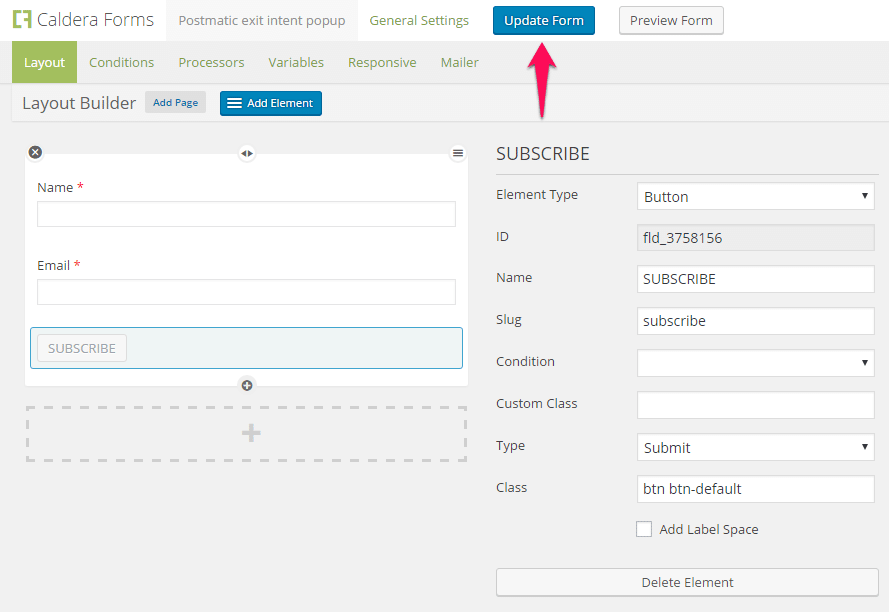
Fill out the Name field as shown below. Click on the blue Update Form button and you’re done!
2. Connect Postmatic and Caldera Forms
Follow the directions in this document to connect Postmatic and Caldera Forms.
3. Create the popup
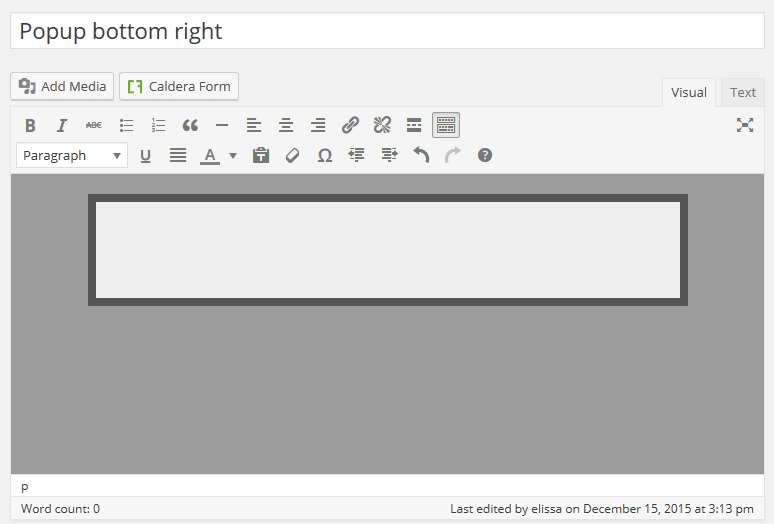
In your WordPress dashboard, go to Popups > Add New. The popup editor will open up and a blank box will appear. To add your text to the popup, click inside the box.
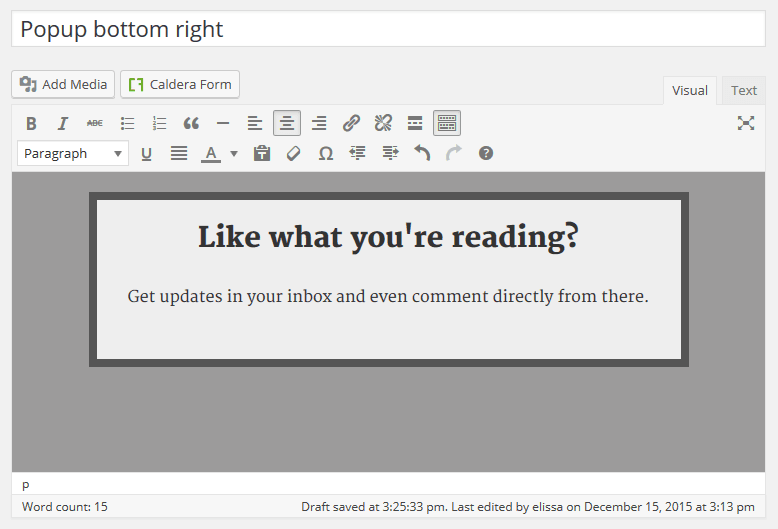
To replicate when Lise did, type the following text inside the box, center it, and then follow the directions in parentheses:
- Like what you’re reading? (highlight this text and select Heading 2 from the style drop-down menu)
- Get updates in your inbox and even comment directly from there. (highlight this text and select paragraph from the style drop-down menu)
With your cursor still in the popup box, click on the Enter key (start a new line of text).
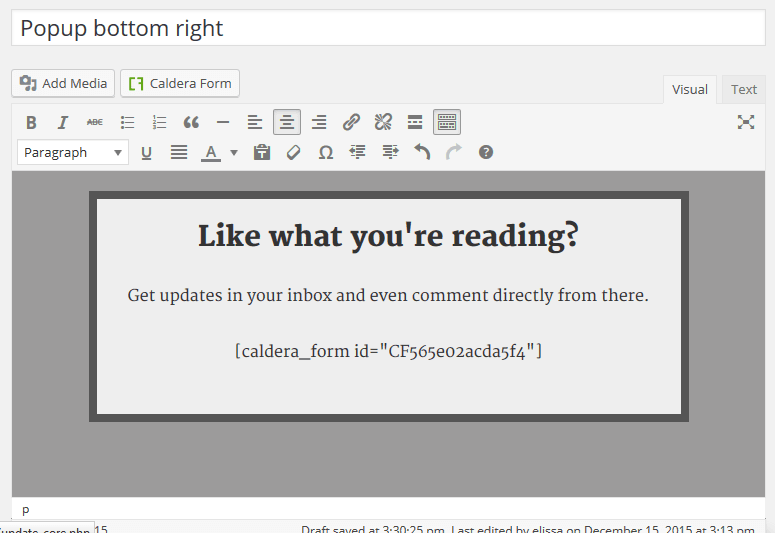
Click on the Caldera Form button. Select your newly-created form and click on the Insert Form button.

The shortcode for your form should now show up in your editor.
Click on the Publish button.
That’s it – you’re done!
By the way, you could do this with a combination of Gravity Forms and Postmatic for Gravity Forms as well. The process would be nearly the same.
A customized after-the-post optin
As if that weren’t slick enough, Lise also has a nifty sign up form that appears at the end of each of her blog posts.
How she did it
You need to install the following plugins to make this work (this assumes you already have Postmatic installed):
1. Create the form
Follow the same directions as shown above (or you can use the same form you already created).
2. Connect Postmatic and Caldera Forms
Follow the directions in this document to connect Postmatic and Caldera Forms.
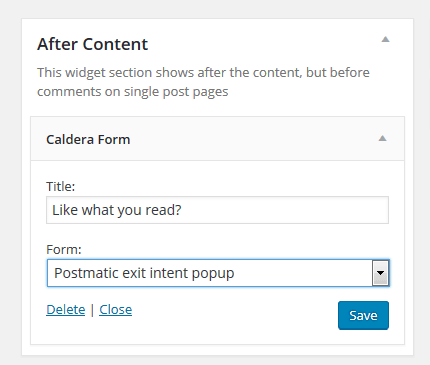
3. Add and configure the after content widget
After you have installed the Add Widget After Content plugin, a new After Content box will appear when you go to Appearance > Widgets. Drag the Caldera Form widget into the box.
Complete the Title field and select your Form from the drop-down menu. In this example, we are using the same form that we used in the popup example above. Click on the Save button.
That’s it – you’re done!
The new optin will show at the bottom of all posts.
Lise has hit onto a nice idea with these optins: with the Caldera Forms and Gravity Forms integrations in place it’s possible to put optins just about anywhere on your site. Widgets. Posts. Pages. Footers, or headers. It’s a nice coming together of a lot of WordPress technology. Many thanks to her for showing us how it was done.
If you have an interesting way to gather Postmatic subscribers on your site please let us know. Use the comments….

Offer subscription incentives in Postmatic 1.4.12
Offering an incentive for people to subscribe to your blog is a nice way to accelerate the growth of your list. It could be something as simple as an ebook or how-to guide. The psychology is in your favor: people are much more likely to subscribe to your list if you offer them a reward. Even if it is something they could get for free.
It looks something like this:
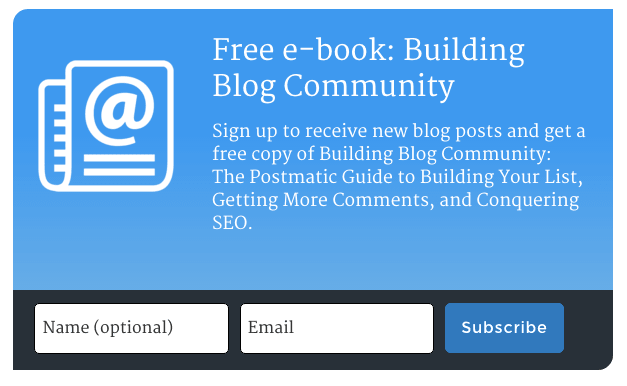
We’ve had this request from quite a few users in the last few weeks so we decided well, why not?
How to offer subscriber incentives in Postmatic
- Upgrade Postmatic to the latest version (1.4.12) and visit Settings > Postmatic in your WordPress dashboard.
- Set up your widget, form, or optin with a nice teaser. Here are some ideas.
- Visit the Options screen.
- There you will find a new box named Subscription Confirmation Message.
- Insert any html you want. When a user successfully subscribes to your blog (not to comments) we’ll shoot them a confirmation email and include your html. Use it to offer a download or link to your incentive content. Done.
Some ideas for incentives
If you’re not sure what we’re getting at or how to put it to work for yourself check out this post.
Here’s the full list of what else is comes in 1.4.12
- With the above we’ve also changed the subscription confirmation message to no longer show your previous post. It wasn’t a real winning feature anyway.
- We’ve added support for Add Widget After the Content. That is to say widgets which are set by it will not show up in your Postmatic email. So we support it by not supporting it. Which is to say its safe to use. Blog post on why coming later this week.
- Even more improvements to stripping out signatures on incoming replies. We’ve moved all of that up to our servers so we can now tweak things in realtime.
- We’ve got a Russian translation! Many thanks to Dmitry Kornyukhov. He is seriously the Best Russian Translator.
What else is coming this week?
There are updates to both Epoch as well as Postmatic Social Commenting in the works right now. Highlights include:
Epoch
- Instant comment posting. Comments now post to the comment stream the instant you hit the submit button. Even on slow-like-molasses hosts.
Postmatic Social Commenting
- Full support for social profile images. We’ll be pulling in profile images from the social network used, and falling back to Gravatars if need be.
We’ve finally found a great use for social networks
We are huge fans of the kind of deep, thoughtful, and exploratory conversations that happen on blogs and over email. Social media doesn’t really do it for most of the team here… and we certainly question the usefulness of 140 character comments. We maintain a company Twitter account for helping with support, but otherwise we stick to the inbox and comments section for the sharing of ideas.
But so many people have accounts on social networks that we couldn’t help but put some thought into how to leverage that….
Say hello to Postmatic Social Commenting
Postmatic Social Commenting lets your users authenticate using their existing accounts when leaving a comment. It’s a quick and simple way to fill out the comment form with a single click. We’ll grab their name, email address, and profile URL. That leaves them free to focus on what’s important: the conversation.
We’re starting with support for four networks:
- WordPress.com
- Google Plus
The plugin adds subtle social icons to your comment form and is completely integrated with Postmatic and Epoch.
Hasn’t this been done before?
When we created Epoch we searched around. High and low. There just aren’t any well maintained or highly reviewed plugins that offer the speed and simplicity we were looking for. And that’s because they all focus on the same thing: social login. That’s not what we want. Why the login part?
Don’t call it social login. This is social commenting.
WordPress Social Login, OneAll Social Login, miniOrange, and other existing social commenting plugins all have the same thing in common: they are focused on letting your users log into your site using a social account. That comes with a whole lot of overhead. So now users are going to see an admin bar? Can they reach the back end of the site? Do they need to maintain a profile? The list goes on.
We’re doing it better. Just authenticate, grab some data, and run. Light, fast, and easy. We hope you enjoy it.
Postmatic Social Commenting is free and available in the WordPress repo. Download it today.

Let’s talk Postmatic 2.0
Two years ago we began development on Postmatic. We knew that email commenting was going to be a big piece of the engagement picture but have always wanted the product to be so much more. As we close in on Postmatic 2.0 the product has finally reached the heights we’ve always dreamed of.
There is a lot to talk about and we’ll be blogging about it here over the next month or two. There isn’t a projected release date yet, but if you are interested in being a beta tester please let us know via the usual support channels.
Let’s start with a tiny feature that is going to do a lot to change how you interact with comments via email.
Meet the Reply via email button
In most emails sent via Postmatic you will find a recap of the conversation surrounding the post, or the larger context of the conversation. It’s one of our users favorite parts of Postmatic – being able to catch up on the full conversation right from email. It looks a lot like this:
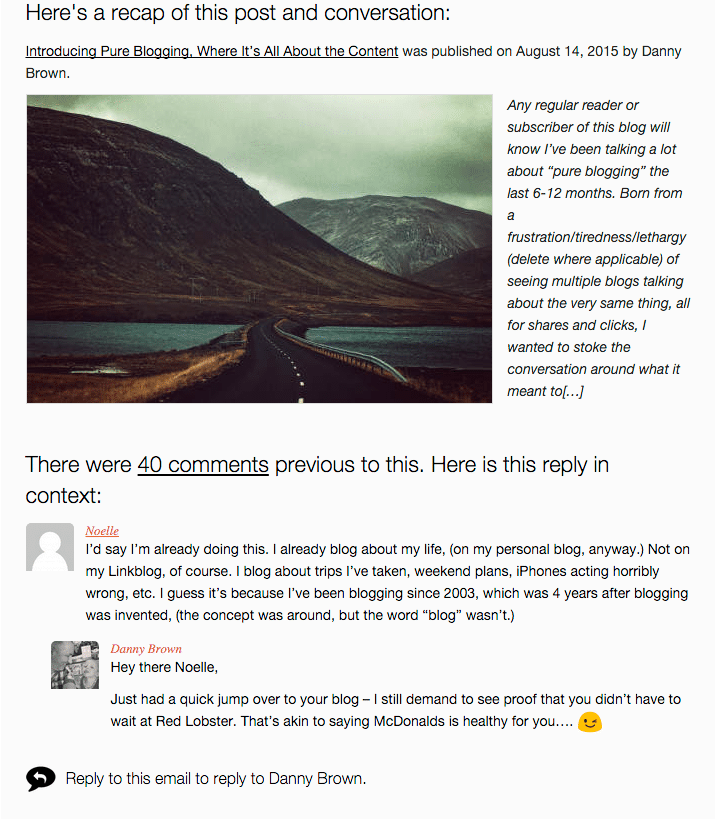
Replying to that email would send a reply to Danny Brown. But what if you want to reply to Noelle? You can in Postmatic 2.0.
It looks a bit like this
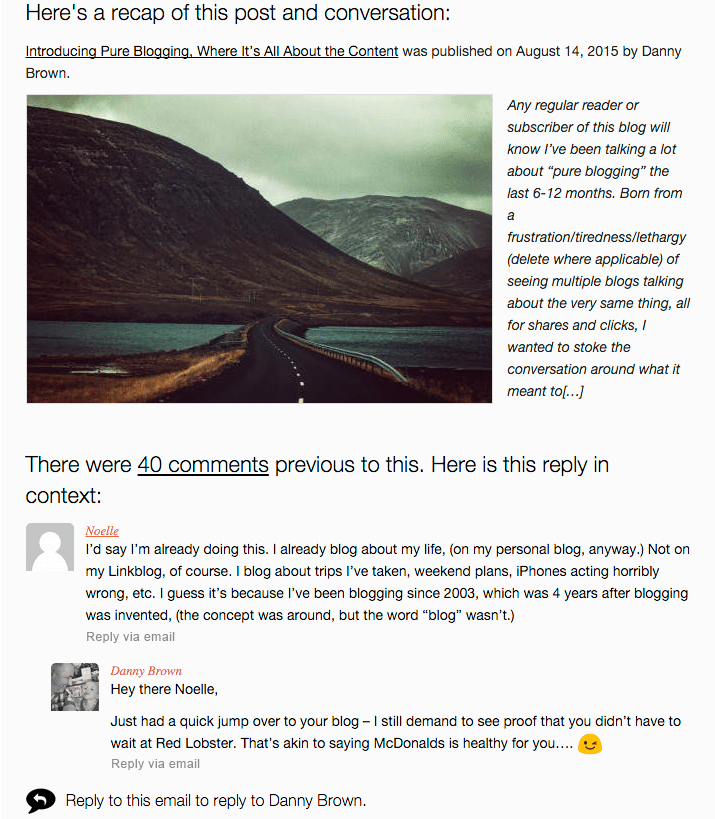
You’ll notice there is now a Reply via email button after each comment. Clicking it will spawn a new compose window in your email client. Add your thoughts, hit send, done. The comment will inject into the proper point in the conversation and notifications will be sent out to all subscribers. Awesome.
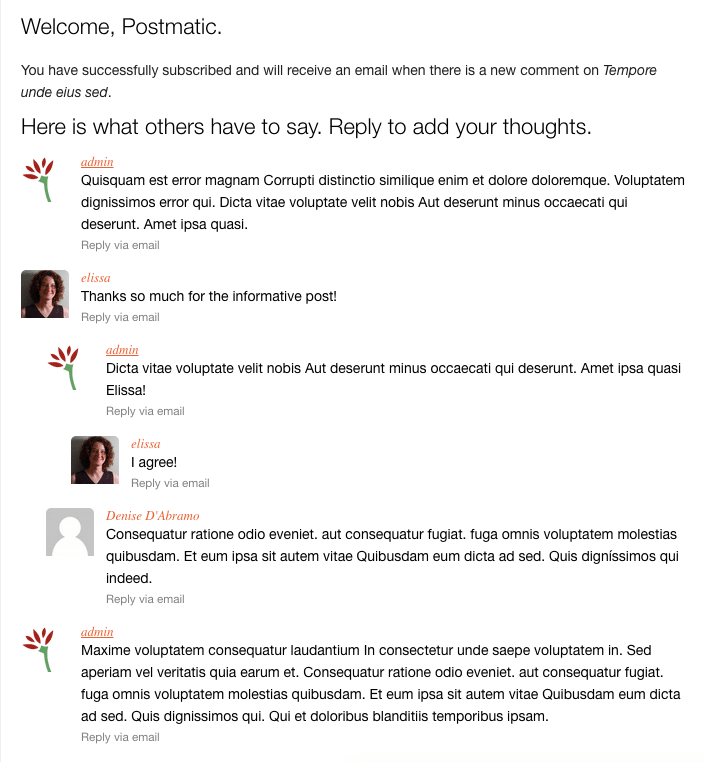
We are adding the Reply via email button to all comments across all views in Postmatic Premium. It’s especially useful in circumstances when there are a lot of comments to catch up on such as when a user first subscribes to an older post or receives a recap when rejoining a busy conversation after a few days:
We think it’s a little touch that will add a lot of comments.
There is so much to talk about in 2.0. We’ll be trickling out more posts as soon as features are wrapped up and production ready. Stay tuned. And, by all means, if there is something you’d like to see in 2.0 please let us know in the comments.